Water Under the Bridge
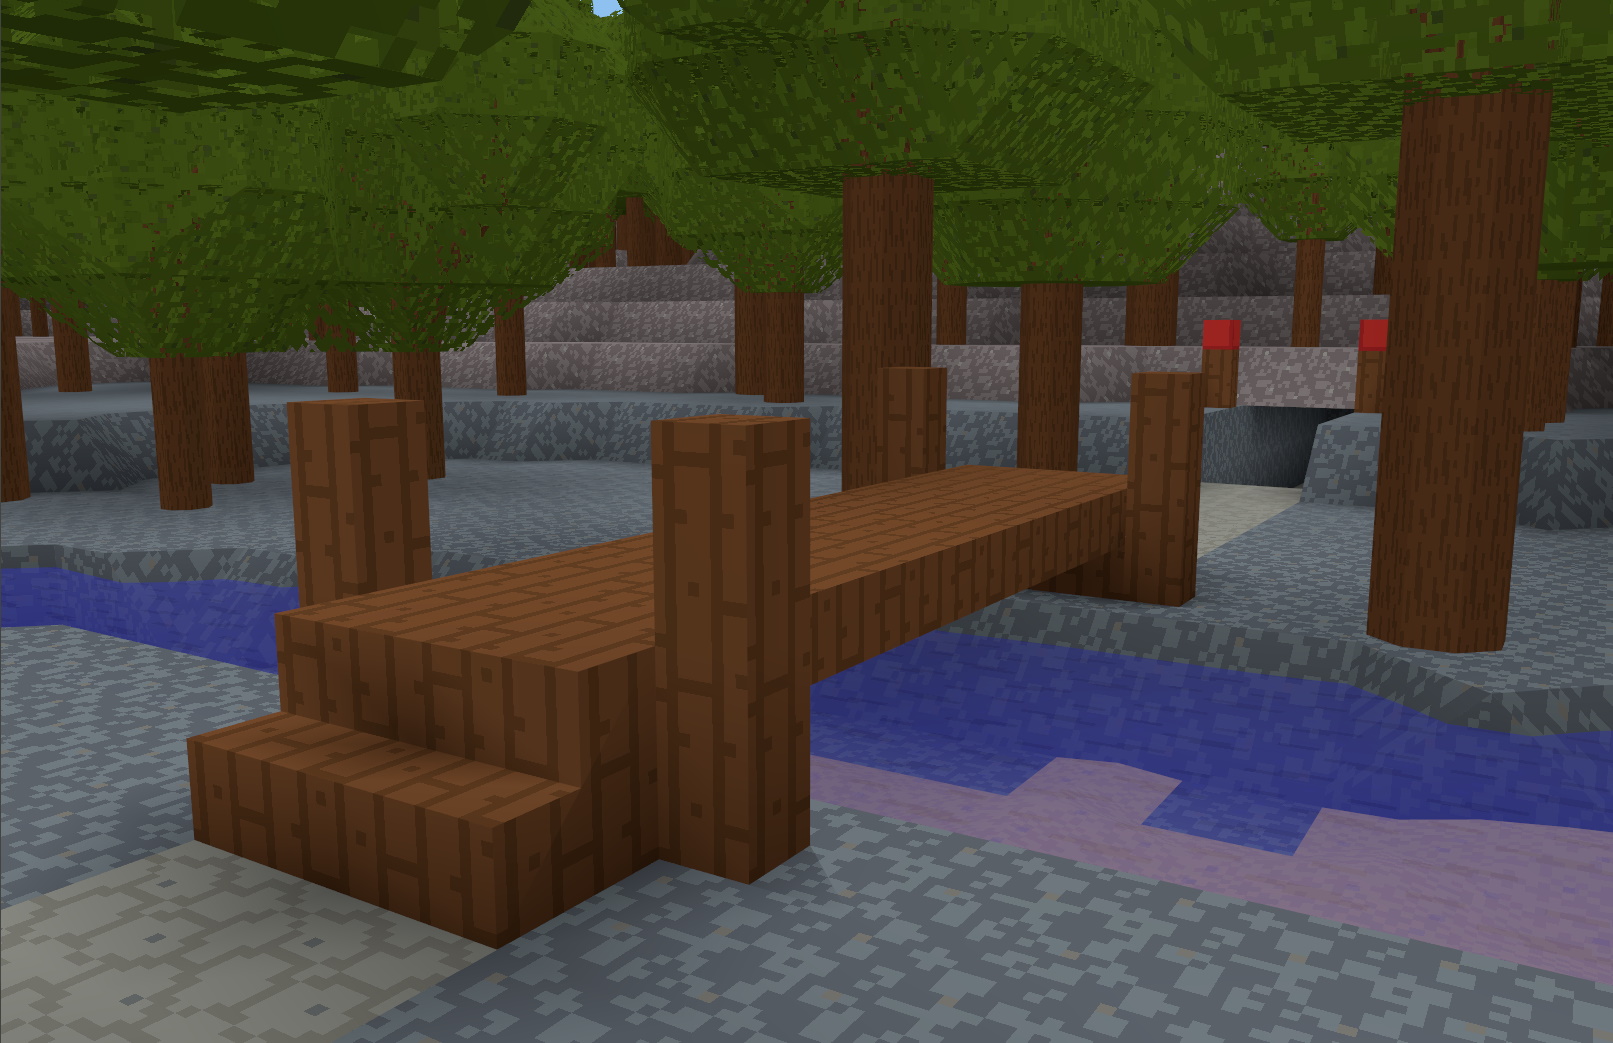
The last couple of weeks was a return to 3D and water rendering in roughly equal parts.
If nothing else, this blog is going to keep me honest. As you may recall from my last post, I had switched entirely to 2D. Switching back to 3D was a rough transition, and I ended up doing quite a bit of what I call code “nesting” (making the coding environment nice and comfortable). This is another common engineering pathology like making your own game engine, and I am highly susceptible. This soaked up quite a bit of time.
However ultimately success was had and water was rendered. Skip to Rendering water if “nesting” and refactoring code isn’t your thing.
Nesting
The challenges with water rendering requires 3D, as you need something behind it to see the translucent effect. However, bringing up the 3D version of Terra Diem was a harsh reminder of why I switched to 2D in the first place. While working in 3D can never be quite as easy and fast as in 2D, there were still a lot of useful improvements I could make.
One project
To make rapid progress in 2D, I effectively made a brand new code base, copying and modifying chunks of code from the 3D version as needed. This was great initially, as trying to adapt and refactor code to work for both would be slow as I didn’t yet know what I needed for the 2D version.
This is a good general principle in software engineering: Don’t generalize too early. My general advice to others is to wait for the third use of code before trying to generalize, so you have a better idea what will be common. However, I had no plans for a 1D version of the game, so I decided the time was now.
So what was common?
-
Materials: Materials are things like rock, dirt, glass, etc. and they define a lot of game properties: opacity, light emission, form (gas, liquid, loose, or solid), etc. In addition, these also map to texture information like image filenames, and UV coordinates. Previously I had kept these pieces of information separate, as the “world” representation does not need to know about how it is drawn. However, it is actually useful to track some minimal graphical information together with the physical behavior.
-
GUI resources: Tool icons, fonts, and other game UI resources are required in both games. Up to this point, these were actually scattered all over the place in the code. I took the reunification as an opportunity to create a new common library that centralized loading and access to GUI resources.
-
Game state: Much of the flow of the game is the same, so having a common base game state made sense. As Terra Diem 2D is also built on top of the Game Bits 3D renderer, almost all the core engine initialization was the same. The actual game states remain different (currently just the “title” and “play” states).
-
Utilities: There are a lot of other little bits of common code to support debugging, global settings, and even 2D math. For instance, all the code around generating polygons for the face of a cube in 3D maps directly to how a block is rendered in 2D. There is a fair amount of code here, due to the nature of having partial slopes and sub-blocks, and generating minimal mesh for any “face” configuration.
Quality of life improvements
After unifying the 2D and 3D projects and sharing what code I could, there was still a fair amount pain points when working in 3D that I spent time fixing:
- Window management: I had actually cleaned up the debug UI a lot in 2D. In both game variants there are a lot of floating windows with various debugging information and controls. While the Dear ImGUI library I use for UI rendering implicitly supports minimization, there still is a lot of clutter. In 2D, I added a main menu with controls over window full visibility, as well as save/load dialogs and a few other things. While I don’t yet have a need for dialogs in 3D, I refactored the code to make use of the main menu and view management.

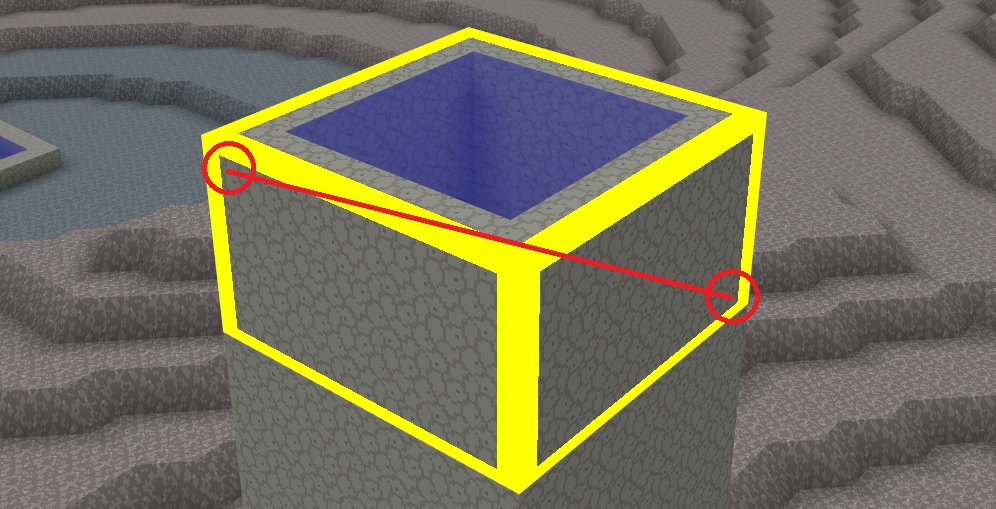
- Editing tools: One of the big improvements in 2D was being able to rapidly drag out edit boxes and do mass editing on the blocks within the volume. I support full deletion and replacement of material in the block, and also selective deletion or addition (only deleting the a single material type, or only adding material to pure air blocks). Although 3D can’t quite offer the same drag-out-a-box fully, it can support a version of it by creating a 3D box around two anchor points (aka from first click, to the drag position). I added this functionality as well as bringing over the mass editing improvements from 2D.
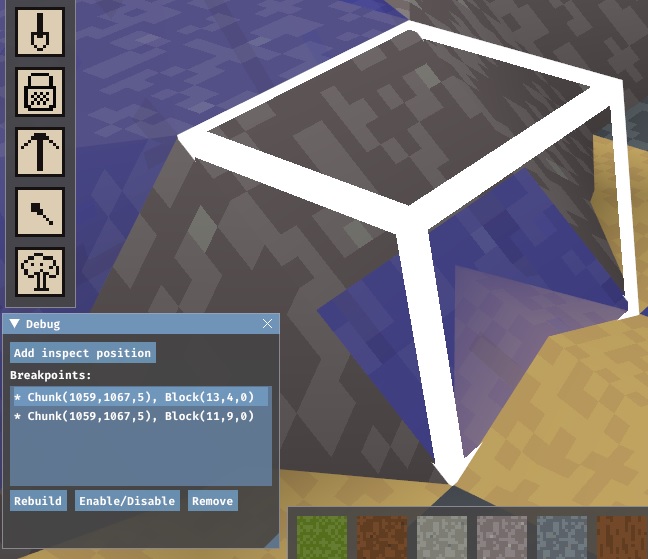
- 3D breakpoints: The nice thing about 2D is you can trivially set a conditional breakpoint by setting the condition to check the X and Y coordinate in Visual Studio. In 3D this is problematic as there are orders of magnitude more blocks being processed and conditional breakpoints are slow. It is also quite painful to manually add each time as the coordinates are much larger (X and Y coordinates are easily in the 10,000+ range). To address this, I implemented my own fiber-safe (a much longer discussion) 3D breakpoints which I can set at runtime in game, allowing me to rapidly dig into the mesh generation or behavior of a particular block as I see it.
Rendering water
If you want to see water in action, you can check it out here. I’ll go into the gory details below.
Rendering basics
Graphics programming and rendering is an enormous topic, and as I’ve said before – I am not a graphics programmer. However, for those without any experience rendering, here’s a quick overview. This is a vastly simplified explanation (aka it doesn’t quite work like this), but hopefully it is sufficient for a basic understanding.
Graphics cards are really really fast, but they are also quite low level. They don’t really know or care that you are rendering a 3D scene. One thing a graphics card does do very well is render a 2D triangle to the screen. As a graphics programmer you need to write separate small programs (generally called shaders) telling the graphics card exactly what to do. At the most basic level, there are two required shaders: vertex shaders and fragment shaders. Vertex shaders must transform the vertices of a 3D triangle into 2D screen space. The graphics card then clips triangles to the screen and invokes the fragment shaders to draw each pixel filling in the triangle.
In a 3D scene, lots of triangles are going to overlap (for instance, the hills behind the Terra Diem tower). The graphics card will happily draw the triangles over each other, in the order you asked it to. This means it is critical that triangles get drawn back-to-front.
This is especially computationally expensive to do, as which triangles are behind is dependent on the view (say looking from the other side of the Terra Diem tower). When there are millions of triangles to consider – that is a lot to do! The graphics card does not help with depth sorting triangles at all – which makes this even slower.
Luckily, graphics cards do provide a solution. In addition to the 2D location of every triangle vertex, you can also generate a depth value in the vertex shader (you can think of this as how far behind the screen it is). This ultimately goes into a separate depth buffer the graphics card then can use to compare with any pixel that would be rendered, and only draw the one that has a smaller depth value. With this simple change, it no longer matters what order the triangles are drawn in. If the front triangle is done first, then any pixel it draws will not be overwritten by triangles generating pixels with a higher depth value.
Alpha blending
Up to this point everything in Terra Diem being rendered was opaque. Even materials like leaves are for the purposes of rendering opaque, as each pixel of the leaf texture is either there or not (this is referred to as a 1-bit alpha mask). This works great, as you can just throw a bunch of triangles at the graphics card in any order, and they naturally occlude each other due to their depth values.
Water is different, because you can both see the surface of the water and through the surface to mesh behind it. This is done with a technique called alpha blending, where an addition value indicates how opaque a color is (zero being fully transparent, and one being fully opaque). This presents some unique challenges due to how rendering on graphic cards work (see above). Essentially, we can’t use the nice trick of the depth buffer, as we want to draw both the triangles behind and in front.
A naive solution to this is to just draw all the opaque triangles first (using the depth buffer), and then draw all the translucent triangles after (since they need to blend with each other). Unfortunately this doesn’t work as what color actually ends up on the screen still depends on which translucent triangle draws first.
For a general solution this forces the issue, requiring the triangles be drawn in depth order again, or more precisely requiring the pixels be drawn in depth order. There are techniques to deal with this, and modern graphics cards do provide some help here. However, it is still quite a bit of work to do.
Since Terra Diem only has water, which rarely overlaps and is all basically the same color, for now I’ve stuck with the naive solution. It doesn’t actually matter what order the triangles are rendered in if the color and alpha is always the same.
Some precision required
With the naive solution in hand, I rapidly got water rendering in a few hours. It looked like this.
All render mesh (the triangles we’ve been talking about) is generated block-by-block in the world. For performance reasons, I don’t generate all the triangles for every block. Even with depth buffering, this would be way too much for the graphics card to handle, plus it wouldn’t even fit in memory. However, for blocks which you can see through (like leaves and now water), I did generate all the triangles for the blocks.
Mesh is generated for each cube face, and then for any interior surfaces (partial solid blocks and mounded liquid / loose matertial may have this). If a block’s cube face is completely occluded by a neighboring block, I don’t generate its triangles. As most of the world is surrounded by other solid blocks or is air, this eliminates most triangles. However, if a block is only partially occluded, I could be lazy and just draw the whole face – leveraging the depth buffer to hide all the bits that are not visible.
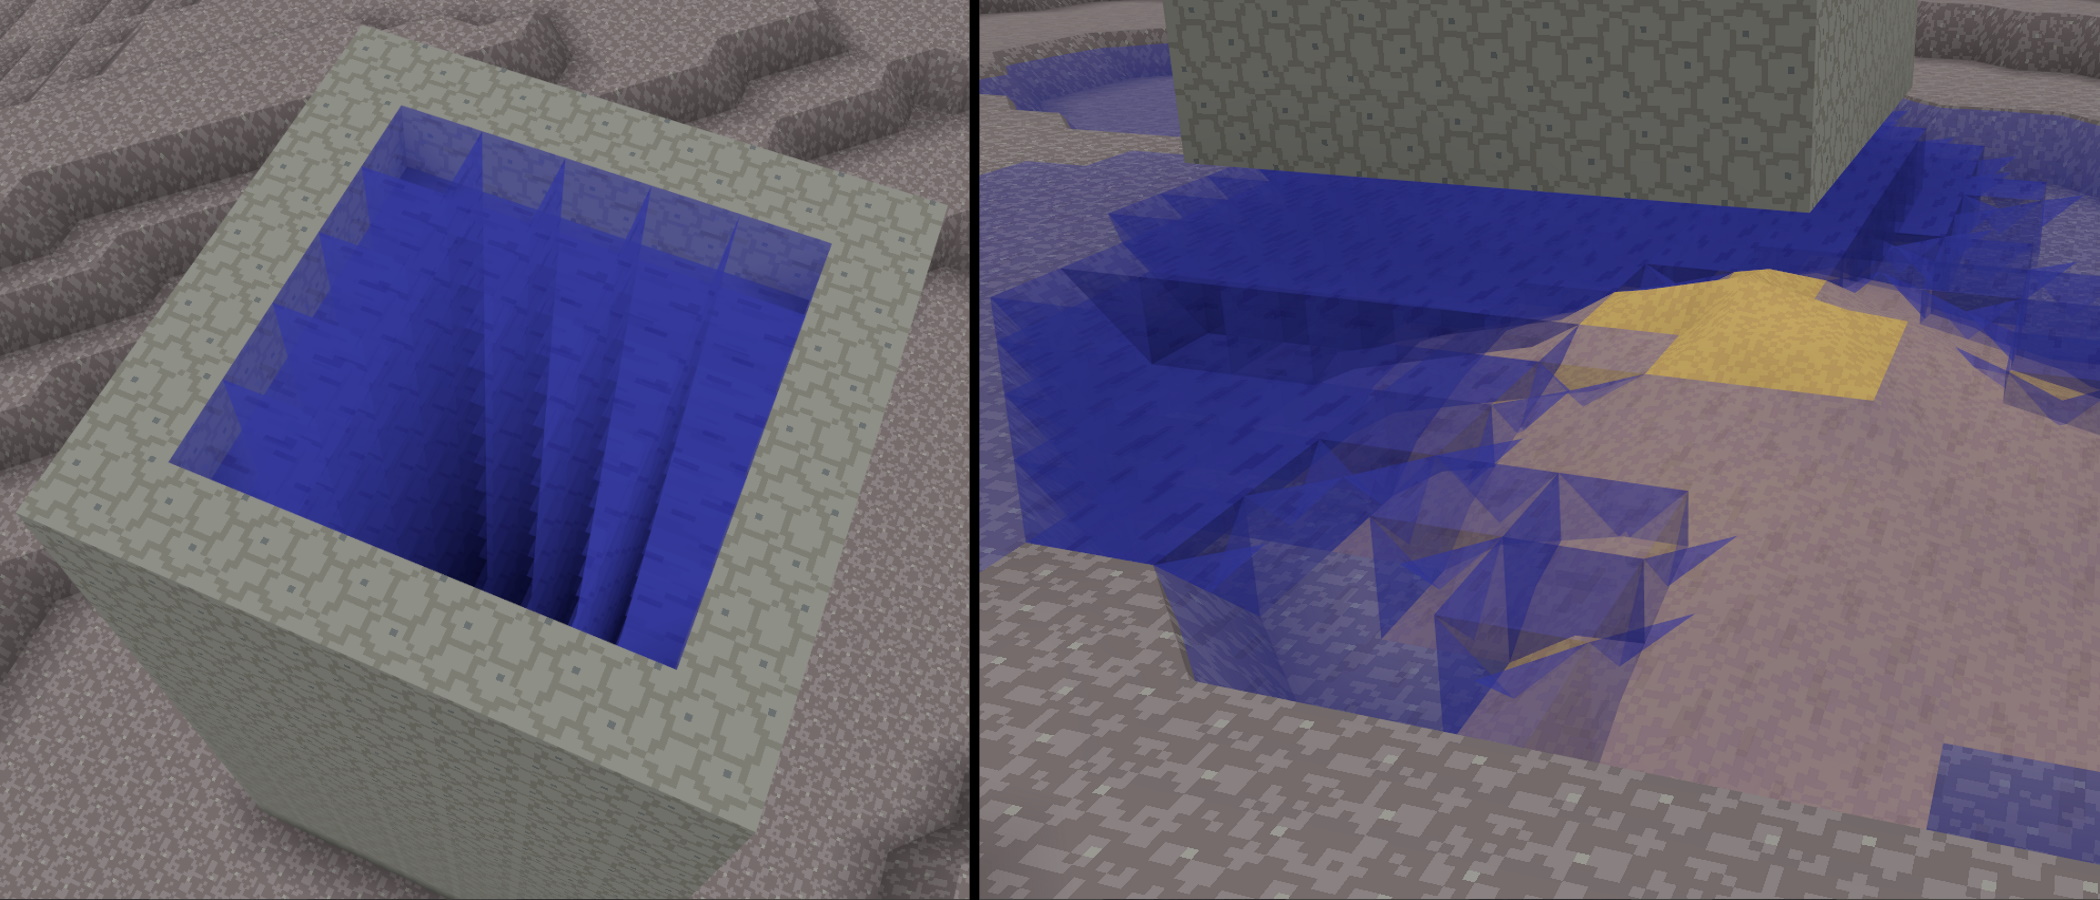
This fast-but-sloppy approach doesn’t work with translucent blocks like water. Instead of occluding triangles, every time polygons overlap it just gets darker blue and more opaque, and you get the effect as seen above. I needed to calculate the precise triangles visible to the air for each cube side. Unfortunately in Terra Diem, the side of a block is complex. It can be a slope, sub blocks, and the profile of one or more loose materials (for instance, both sand and water).
I already had some basic optimizations in if the liquid/loose material profile was the same between blocks, I would not render the side mesh – but sometimes a block is a full cube, while the neighboring block is not to make flowing material continuous (see my last post. I now had to generate precise mesh for each side, like this:
This was quite a bit of non-trivial work, but it was worth it as I now have perfect mesh with no extra triangles being rendered. I can still choose to draw extra opaque mesh, and do in some cases for generation speed and to reduce the number of triangles needed. However, for water I have to be quite precise. Here is the requisite before and after shot.

What’s next?
Initial responses from friends and family were mixed. In many cases, the water surface itself was not really registering visually. Certainly, it was rendering “correctly”, but it still doesn’t really look like water. For instance, this image I made of a lake with a sandy bottom didn’t visually read like there was sand under the water. Certainly the water surface is essentially invisible.
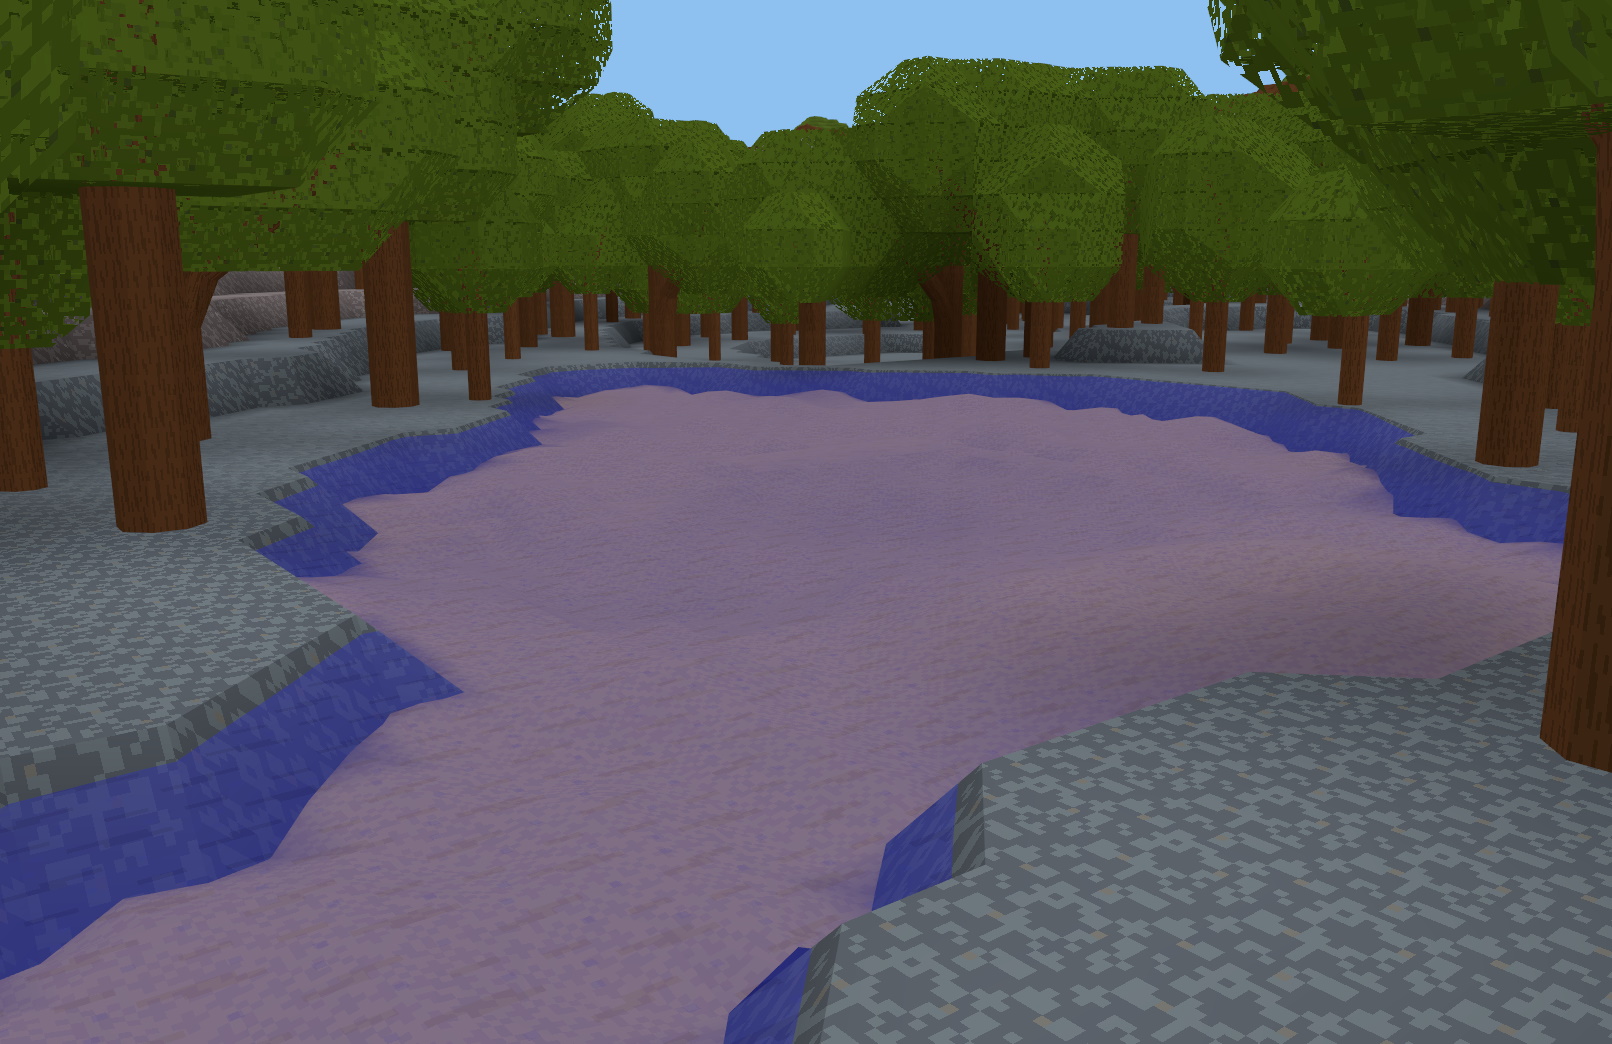
I’m not entire sure what the biggest root cause of this is, but I have some guesses:
- The water is not animating. This is of course always going to be true in a static image, but in game this would help.
- The lighting is too flat. Real water is quite shiny (it has a high “specular” component).
- The surface is too flat / clear. Water actually has a magnifying, light-warping effect. If there were some visual undulation, it would help (again, with animation).
- There are no reflections. This would likely help a lot as a reflection grounds the surface location. Plus it would look cool.
Anyway… These are all things to play with. For now, I am going to leave it alone and move on to other parts of the game.